Friday, July 31, 2009

August is my Blogger-versary

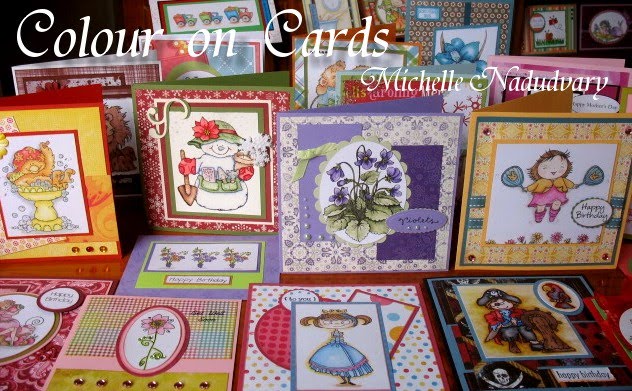
This August is Colour on Cards 1st Anniversary.
Stay in touch for something special coming very soon.
Michelle

Thursday, July 23, 2009

Somebirdy Special

Hi everyone,
Here is a sweet little card made using 2 of Magnolia's new stamps, This is 'Tilda with birdcage' and the sentiment ' For somebirdy special'.

The images have been stamped and embossed using black pigment ink and sparkly black embossing powder. I have chosen today to colour with my Lyra watercolour crayons.
I love these crayons as they can give you a great combination of muted or stronger more vibrant colours. They are very easy to use and due to their blending capabilities you can easily turn your set of 48 colours into 100's of different shades.

I find watercolour best with an embossed image so I can keep my colours defined. With a non embossed edge the colours will tend to run together. (Sometimes with simple designs eg. brush flowers, this is ideal, but not for today's style of image.)

Heavenscent Crafts is the place in Australia to buy these gorgeous stamps They also stock many other great stamp companies not available anywhere else in Australia. click HERE for their website. If you want a particular stamp not shown on the website give them a call and they will be only to happy to help.
Until Next Time
Inking of you all
Michelle

Saturday, July 18, 2009

Twinkling H20s

Today I am going to talk a little about Twinkling H2Os. This is one of my favourite colouring mediums, in fact I have lots but I really like the H2Os because they are just so vibrant.

Twinkling H2Os are little solid cakes of watercolour paint in small pots. They are very shimmery, lightfast and acid free. They presently come in 168 colours. H2Os can be used on paper incl watercolour paper, cardstock, wood, plaster and glass.
General Instructions
Select your colours place a few drops of water into the pot to form a puddle, an eyedropper is perfect or you can spritz the water with a small spray bottle. Let sit for a good 10 minutes. By wetting the pots first this will allow the paint to soften and the colours become more vibrant. If you only want a very soft wash of colour there is no need to wet the cake first.
Next
Stamp your image. I prefer to stamp and emboss my image, the embossing helps keep the image sharp and clear. You can use a waterproof ink if you don't want to emboss, however, I find your stamped outline becomes less defined and a little 'murky'.
Now using a paintbrush or a waterbrush simply paint in your colour. As long as the paint remains wet your colours will blend nicely. The more colour you add the more shimmer you will get.
You can also use your Twinkling H2Os on dark coloured cardstock with excellent results, but for even better results on dark card I suggest using the iridescent range of colours.
You can also use the iridescent paints over top of watercolour pencils for a little extra shimmer. for example Green iridescent over any shade of green pencil.

As you can see in the photos I store my H2Os upside down. I have painted the colour on the bottom of each pot for easy reference. The colour you see in the pot is not necessarily how the colour will actually come out on card.
Direct to stamp
You can also paint the H2Os directly onto your stamp. Fter painting your stamp gently mist the stamp with a spray water bottle and stamp direct to your cardstock. Watercolour paper will also give you a fabulous result. NOTE: The H2Os will stain acrylic or clear stamps

the finished cards
Unfortunately the shimmer is not all that visible. They do look better in real life. However you can see the vibrancy that these paints are also known for.
This is a stamp from My Favorite Things

And this gorgeous image is from High Hopes Rubber Stamps

This last image is from Flourishes Stamps this is the direct to stamp method

Until Next Time
Inking of you All
Michelle

Tuesday, July 14, 2009

Same, Same but different

"Same, same but different". Anyone who has been to Thailand will have heard this saying. For example you go to buy a certain shirt, they will offer you 2 the same colour but different pattern, thus the saying, Same, same but different. Well I've caught on to this and done 2 cards, the layout is the same but the colour is different.
The image I have chosen is from a great company called Stampavie, they have the most adorable range of stamps. These cards have been made for their SAV #08 'in the Garden' challenge. Click on the link for more info.
This 1st card is done in some old Stampin up designer papers and using their Cameo coral cardstock
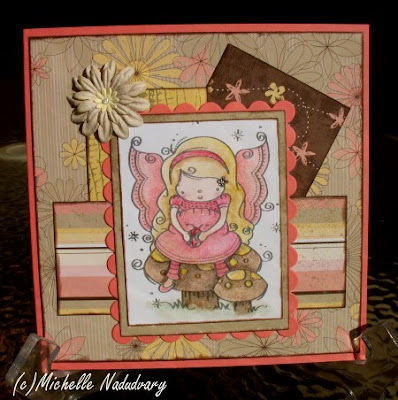
The 2nd card is done with the Stampin up Bashful blue series of papers. Both cards are stamped with SU Basic Grey inkpad.
As you can see the layout is the same, the colours are different, the embellishments are slightly different but basically it's the same card.
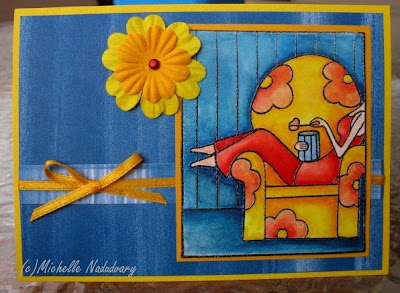
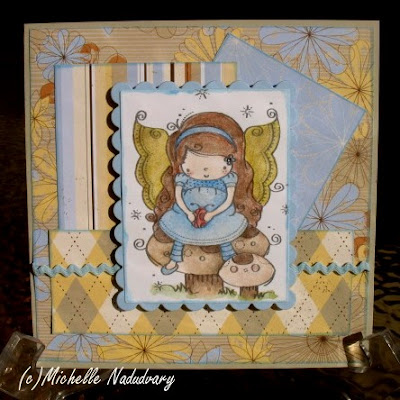
These are 2 cards are very good examples for those of you who have a limited range of stamps. By simply choosing good colouring mediums you can alter the look of your image.
Once Upon a time I read a quote (i wish I knew where it was) "when your colouring mediums out number your stamps you are on the right track."
For those of you who just love to colour like me, you really don't need that many stamps. Because every time you change the colour you get a completely new look.

Until Next time
Inking of you all
Michelle

Sunday, July 12, 2009

Taking your cards 1 step further

Hi, today I am showing you 2 simple cards with one of Magnolia's new releases, This is Edwin and his Lizard.The first card shows you a very basic card with a few easy layers of designer paper. I chose to colour with my Prismacolor pencils blended with odourless mineral spirits.

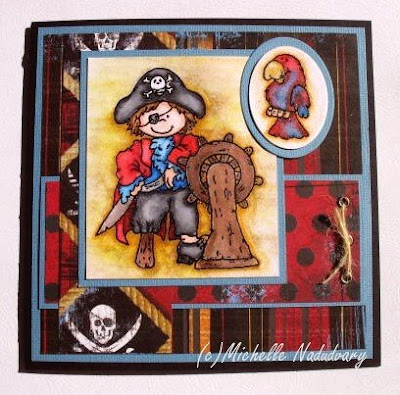
This next card has gone that little bit further by adding more layers; First I punched the corners surrounding the stamped image, I also added some square brads for interest. Next I used rub-on words on to a punched circle.
This circle was then layered with foam mounting tape for height. Last but not least some dimensional magic (or crystal effects) was added to the lizard to give him a nice glossy sheen.
Though these cards a very similar it does make a difference when you 'take your cards that 1 step further'.
Until Next Time
Inking of you all
Michelle

Friday, July 10, 2009

Blog Candy Alert

Hi (Guys and) Girls. Welcome to my new look BLOG. I'll have some new cards for you very soon BUT you have to see this first.
BLOG Candy is up for grabs from one of my truly favourite companies High Hopes Rubber stamps.
Just take a look through my blog and you will see lots of cards I have made with their designs. (I just adore them)
All you need to do is click HERE and visit Crissy's Blog for more info.
Don't forget to sign up to be a follower, for both Crissy and Me, it's free and you get to leave nice comments.

Until next time
Inking of you all
Michelle

Thursday, July 9, 2009

Stampavie Stamps

Stampavie is currently looking for a new Design Team member and I thought why not try out and put my name in the hat. The line of stamps are very cute, great for colouring, but the different artists have very different styles. Here I have pictured 2 of the artists, Sarah Kay and Rachel Anne Miller
Isn't this little girl just beautiful, This stamp is called Picnic of Daisies. I created this card with a very country feel to it. I have coloured this card in using Prismacolor Pencils on Confetti Cream cardstock the designer paper is from Crate Paper


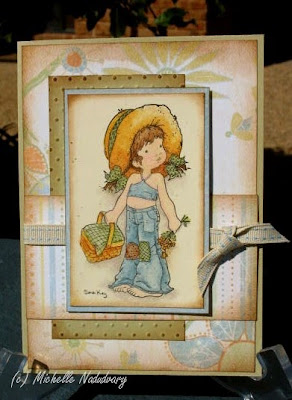
Next we have 2 cards of Lily and Milo, This stamp looks quite different in the 2 colour schemes. I had lots of fun working on these cards. This time I coloured using watercolor crayons. They make colouring quick and easy. They are fabulous to use.
Stampavie stamps and Lyra watercolor crayons are now available in Australia from Heavenscent Crafts in Melbourne, you will find the website HERE
Until next time
Inking of you all
Michelle

Sunday, July 5, 2009

A very special Thank you

I have been off line for a very long time now, approx 2 1/2 months. First I went over to the USA ( don't forget I am from Australia) for 3 weeks. It was lovely my hubby and I went to San Francisco and Las Vegas. I was only back from the trip one week and I ended up in hospital. I have been quite ill and in hospital for just over 5 weeks and I am now glad to be home.
Whilst I was in hospital, my VERY special friend Wendy organised all my stamping friends to create a very special flower bouquet. Here it is.
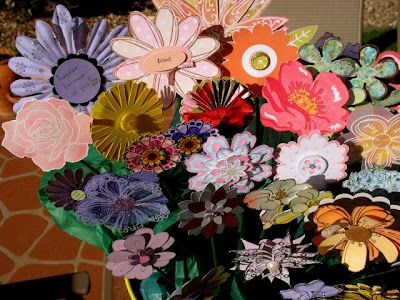
and here is a close up of just some the flowers
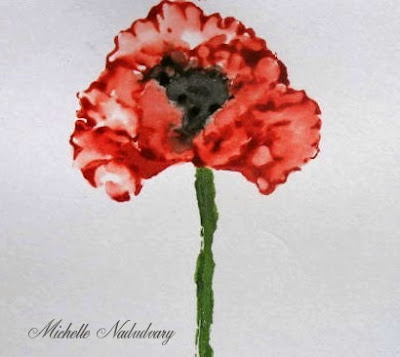
Each flower was individually made with a message written in the back, I have never been so overwhelmed with emotion as I was the day I was given my bouquet. Not only was I emotional so were several of the Nurses.

So to all you wonderful ladies I say "Thanks a Bunch from the bottom of my heart"I feel so loved by you all and without your support I would never have made it as far as I have. I hope you understand how much you all mean to me and I know words are just not enough to express my love to you all.
I will cherish my handmade flower bouquet forever, I will think of each and everyone of you everyday.

Forever in my Heart
Your friend
Michelle XOXO